
The single most effective marketing asset most exterior contractors aren’t using is the work they’ve already completed.
Before-and-after photos from real jobs do more to convince a homeowner to hire you than any ad copy, review count, or slick website design. They show proof of quality. They make the transformation tangible. And they speak directly to the homeowner who’s standing in their driveway wondering whether a new roof or fresh siding is actually worth it.
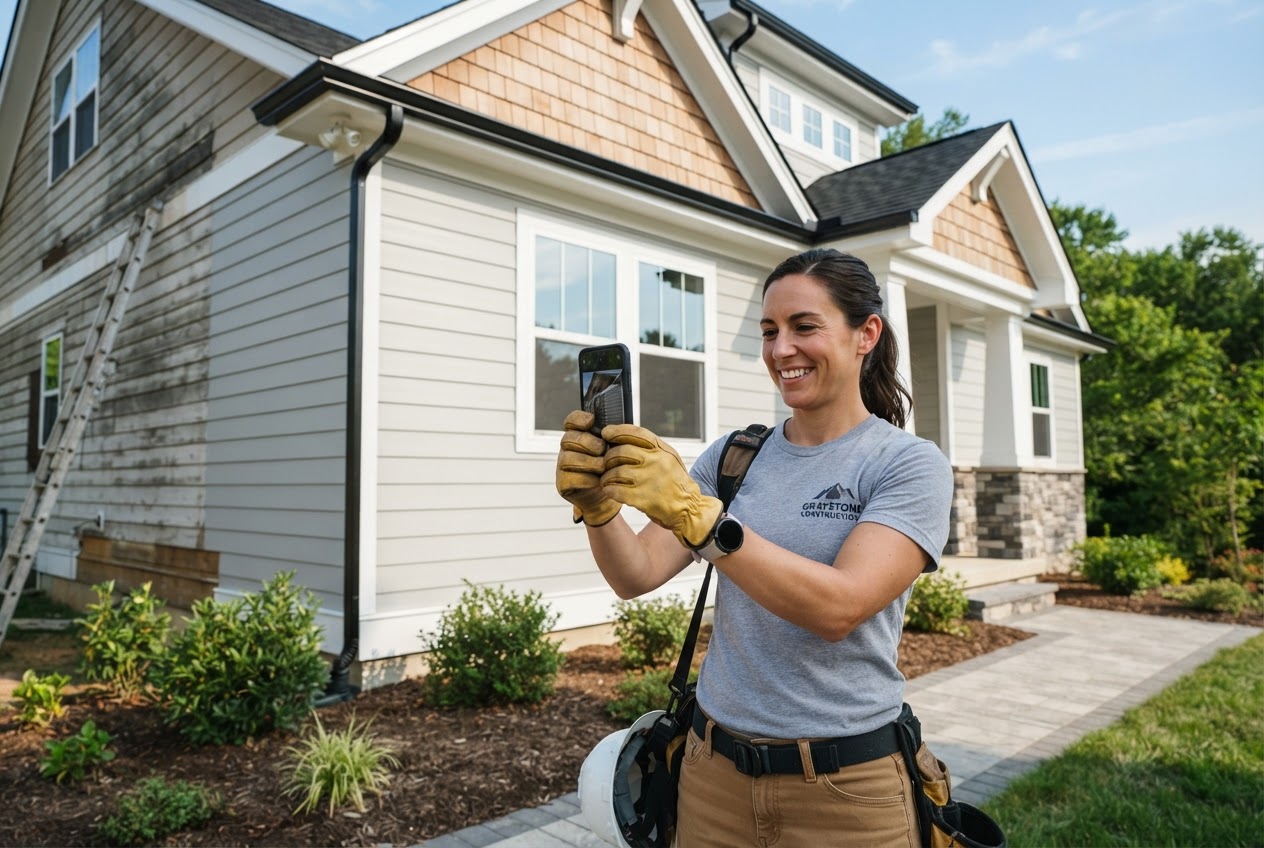
Jobsite photography for contractors is about capturing those moments systematically — so you always have fresh, high-quality visual content working for you across your website, social media, Google Business Profile, and sales presentations.
Why Most Contractor Photos Don’t Perform
Most contractors take photos on their phones, upload them to Google Business Profile in a batch, and never think about them again. The photos are poorly lit, shot from bad angles, and show the job without any sense of context or scale. They don’t tell a story — they just confirm the work was done.
The Problem With Phone Photos
Phone photos can be excellent when taken with intention. But most jobsite phone photos are taken quickly, with no thought given to angle, lighting, framing, or what the “before” state should look like. The result is images that technically document the project but don’t sell it.
What High-Performing Jobsite Photos Have in Common
The best contractor jobsite photos share a few characteristics: they’re shot in consistent lighting (early morning or late afternoon is typically best), they’re framed to show the full scope of the work, and they capture both before and after from the same angle so the transformation is immediately obvious. They also have a consistent, professional look that makes the contractor’s portfolio feel intentional rather than accidental.
The Before-and-After Framework
The most powerful jobsite content format for exterior contractors is the before-and-after pair. Here’s how to capture it effectively on every job.
The Before Shot
This is the step most contractors skip — and it’s the most important one. Before any work begins, walk the full perimeter of the property and capture the current condition from the same angles you plan to use for the after shots.
Get wide shots that show the entire structure, and closer shots that capture specific problem areas: missing shingles, faded siding, clogged gutters, cracked caulking. The more clearly the before shot documents the problem, the more compelling the transformation will look.
The After Shot
After the job is complete — ideally once the crew has cleaned up and the site is clear — return to the exact same positions you used for the before shots. Match the angle, height, and distance as closely as possible. The side-by-side comparison only works when the viewer can clearly see what changed.
For exterior work that includes the full structure (roofing, siding, painting), try to capture the shots on a clear day with consistent lighting. Overcast light tends to be more flattering for architectural subjects than harsh midday sun.
Detail and Process Shots
In addition to the before-and-after pair, capture a few detail shots that show craftsmanship: a tightly installed ridge cap, a clean gutter miter, a perfectly flashed chimney. These images matter to homeowners who are evaluating quality — and they differentiate professional work from average work at a glance.
If the job has an interesting process — a complex tear-off, a challenging roofline, a multi-day installation — a few in-progress shots add credibility and show homeowners what they’re getting when they hire your crew.
Where to Use Jobsite Photography
Once you have good before-and-after content, you have material for every marketing channel your business uses.
Google Business Profile
Google Business Profile photo quality directly correlates with click-through rates. Businesses with recent, professional project photos get significantly more profile views and direction requests than businesses with generic or outdated images.
Upload new jobsite photos after every completed project. Tag them by service type. Keep the photo library fresh — Google’s algorithm favors recently active profiles.
Website Gallery and Service Pages
Your website’s portfolio or gallery section is often one of the most visited pages — homeowners want to see proof of work before they reach out. Organize photos by service type and location so a homeowner looking for a roofer in their specific area can see jobs done nearby.
Embedding before-and-afters directly on service pages (not just in a gallery) increases time-on-page and conversion rates for those pages.
Social Media
Before-and-after content performs exceptionally well on Facebook and Instagram, where homeowners follow local service providers and share content with their neighbors. A single compelling transformation photo can generate more organic reach than weeks of generic branded content.
Short video transformations — even a simple five-second side-by-side with a text overlay — tend to outperform static photos on most platforms. If you have the footage, the edit can be done quickly.
Paid Advertising
Real project photos consistently outperform stock images in contractor ad creative. Homeowners trust what looks real. A strong before-and-after with a clear headline and a local area callout is one of the highest-converting ad formats for exterior contractors running Facebook or Google display campaigns.
Scaling Your Jobsite Photography
The challenge for growing contracting businesses is consistency. When jobs are stacking up, it’s easy to skip the photo documentation. Here’s how to build it into standard operations.
Make It Part of the Job Checklist
The before photos should happen before the first tool comes off the truck. The after photos happen after cleanup and final inspection. If it’s on the job checklist — the same checklist the crew lead signs off on — it gets done consistently.
Assign the Responsibility
Pick one person on each crew who is responsible for jobsite photography. Give them brief direction on what to capture. Some businesses pay a small bonus for photo submissions that get used in marketing — it creates accountability and enthusiasm for the task.
Upgrade Selectively With Professional Photography
For your most impressive projects — a full exterior renovation, a complex commercial roof, a high-profile residential job — professional photography or drone footage delivers a significantly better result than phone photos. These flagship images are worth the investment because they establish the quality ceiling for your portfolio and can be used in proposals, ads, and presentations for years.
Jobsite Photography and Drone Coverage
For roofing, large siding projects, and commercial exteriors, aerial photography from a drone adds a dimension that ground-level photos can’t provide. Drone shots show the full scope of large projects, the relationship between the structure and the surrounding property, and detail on high-slope or inaccessible rooflines.
If you don’t have a drone operator in-house, working with a local drone photographer on your larger jobs is cost-effective. A set of aerial before-and-afters on a major project can serve as flagship content for months.
Get Help Building Your Jobsite Content System
Apex Exterior Marketing helps exterior contractors build and maintain a steady pipeline of high-quality project photography — from setting up the documentation process to handling the editing, uploading, and distribution across your marketing channels.
If you’re completing quality work but don’t have the photos to prove it, reach out. Your finished jobs are your best marketing asset — let’s put them to work.